Adding or editing content on a page
1. Navigate to the page you wish to edit, either directly form the URL if you know it, or via the manage pages section of the plugin.
2. Once you are on the page that you wish to add or edit content on, click the "Edit mode" button in the bottom right. This toggles the page between edit-mode and view-mode.

3. From here, you can click various buttons to control your build, as well as being able to go back the dashboard and page list. But we want to add our first content block, so click on the "Open block drawer" icon at the right-hand side of the page.

4. Now click "Add a block"

5. Click "Text" to add your first text block

6. The last step is to drag your new text block onto your page, click and hold the grab icon and move the block from the drawer on the right, to the center stage of the page.

7. If you are done adding blocks, you can close the drawer.

8. You can choose the width of the block by toggling this button.

9. It moves between a fixed narrower column, or full width.

10. When you are ready to enter some text in the block, click the cog

11. And now click "Configure (new text block) block"

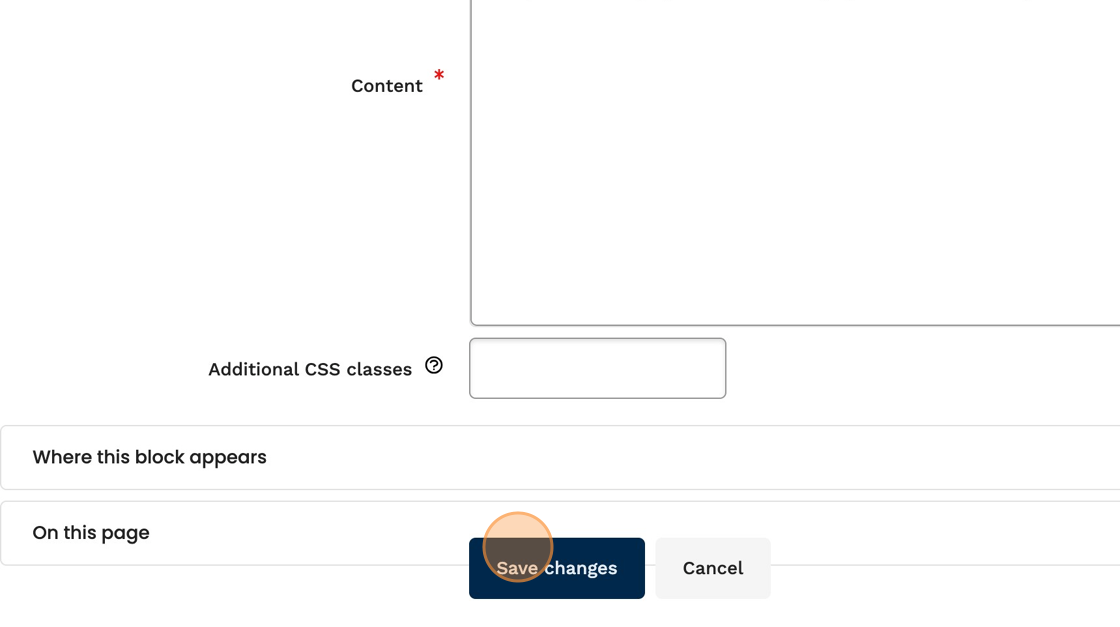
12. You can now enter your text in the "content" section. Or use any of the tools in the text editor (we cover this in more detail in the next tutorial)

13. When you are done editing this block, click the "Save changes" button
14. To see what the page looks like to an end-user, simply toggle the "Edit mode" button to switch between viewer and editor. To go back and make changes, ensure edit mode is turned on and repeat some of the steps above.
